
Table of contents
在考虑养猪时,您可能会不知所措,不知道需要为它们提供什么。 它们肯定需要某种形式的庇护所。 购买所有东西都可能非常昂贵,因此如果您能自己制作一些东西,就会有所帮助。
你可能会问,到底该如何为猪搭建一个栖身之所呢? 其实,这非常简单。 我将一步步教你如何为你的农场搭建一个简易猪舍。
如果你有一定的建筑经验,会对你有所帮助,但这并不是必要的。 这个过程很简单,你可能已经有了一些材料。
建造猪舍所需的物品
- 手锯(电动或手动)
- 钻孔和螺钉
- 卷尺
- 2×4 木材
- 锡屋顶
- 胶合板(可选)
- 户外木材密封剂
分步说明
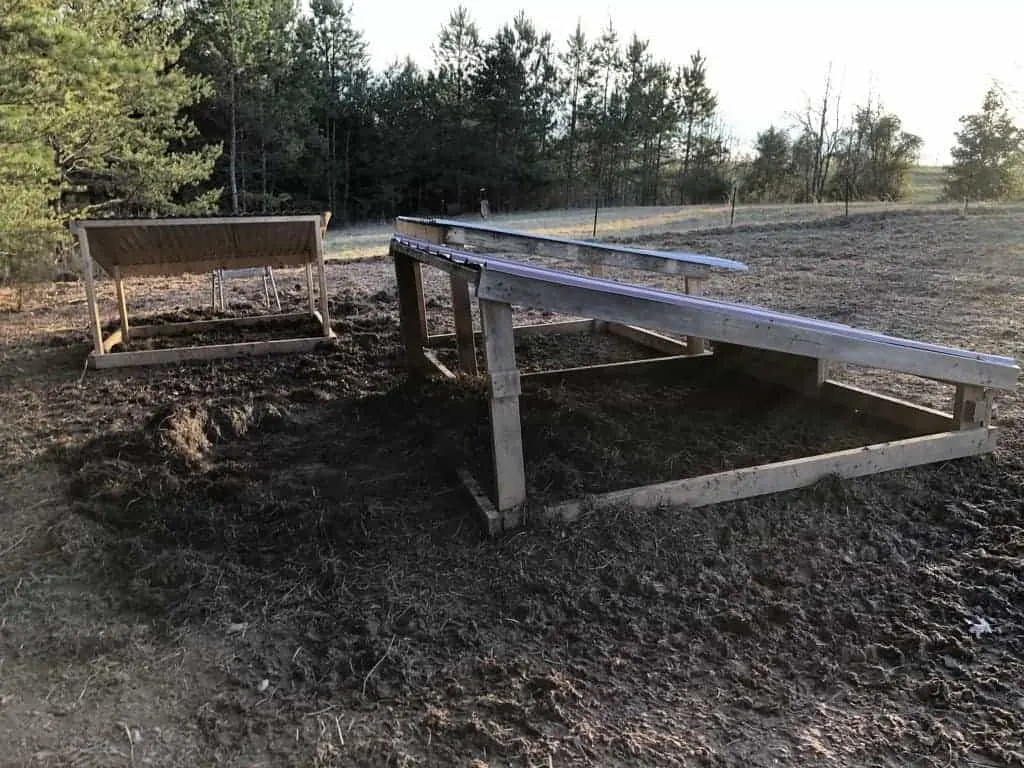
第 1 步 - 切割木材
将木材切成若干段,长度约为 6 英尺(72 英寸),其中 4 段用于底座,3 段用于顶部。
两块约 2.5 英尺(30 英寸)长的用于前柱,两块约 1.3 英尺(18 英寸)长的用于后柱。
最后,有两块长约 1.6 英尺(20 英寸)的木板将前柱与后柱连接起来。
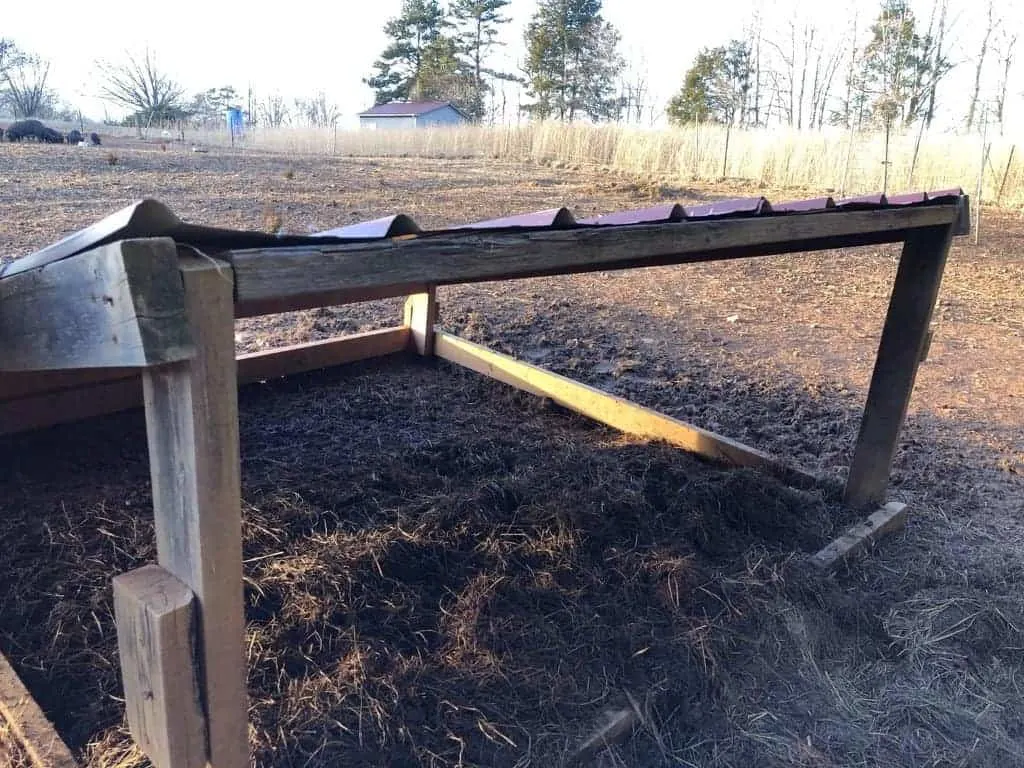
步骤 2 - 连接部件
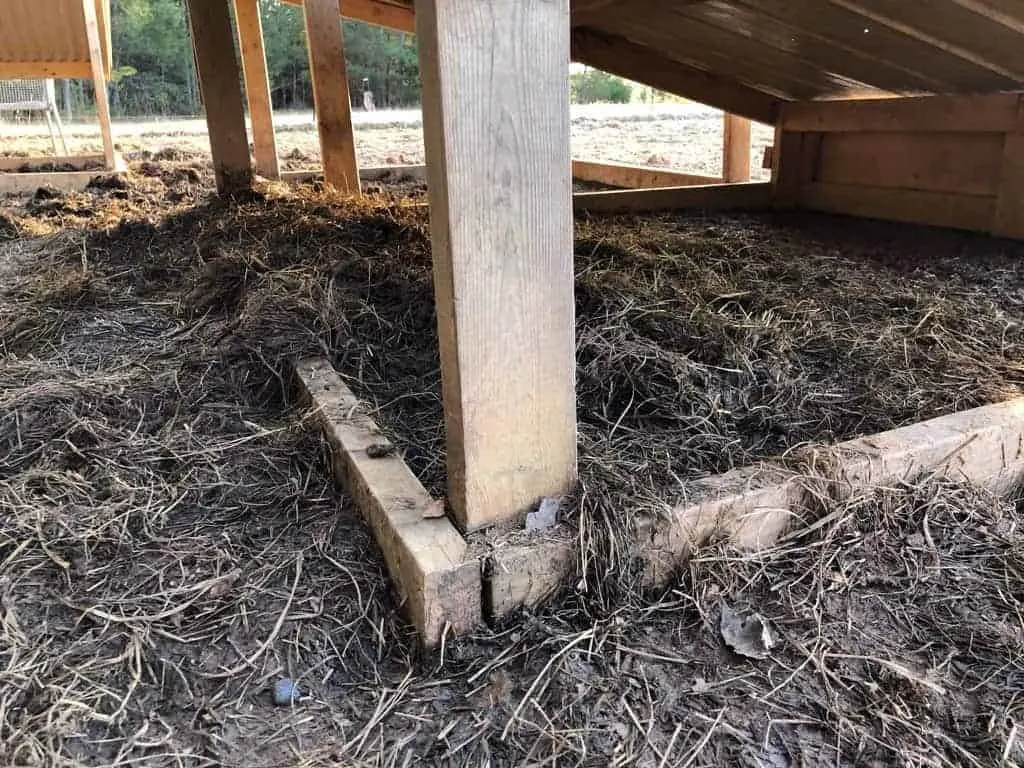
现在,您要用螺钉将木板连接起来。 从底座开始,将两侧木板的两端分别与前后木板齐平。 木板的 2 英寸边应该是接触地面的部分。 用螺钉将每块木板连接起来。
组装好底座后,将长柱放在底座前面的角上,短柱放在底座后面每个角的内侧。 用额外的螺钉固定支柱。
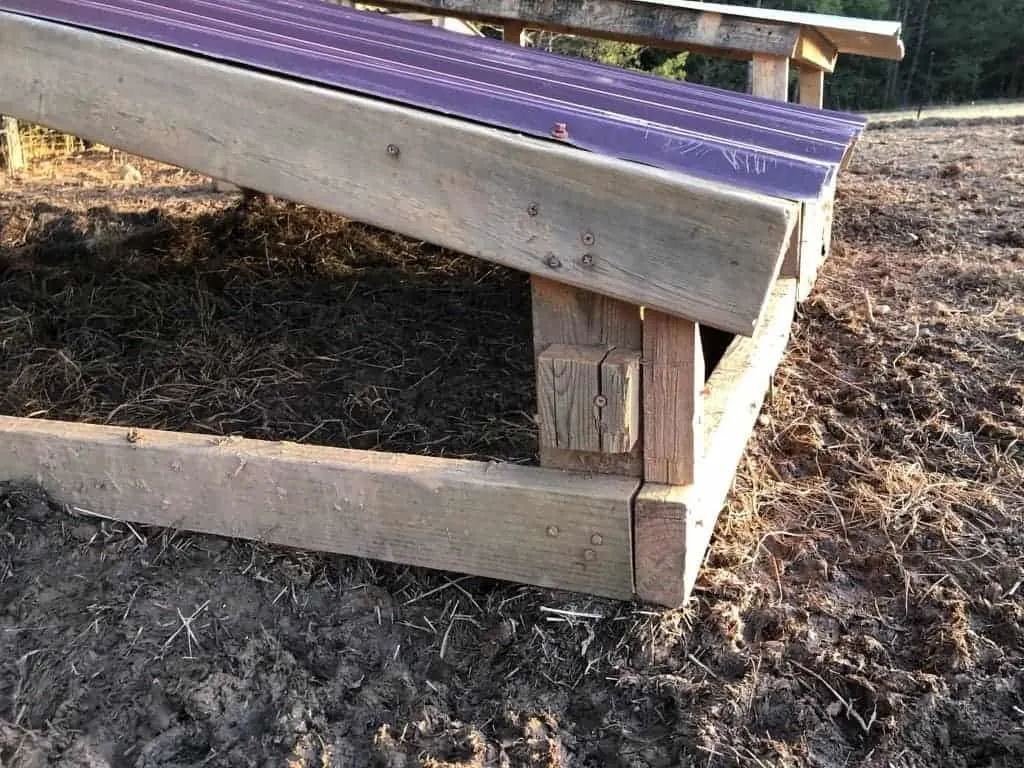
现在需要连接的是顶部的电路板。

首先,用木板连接高度相同的两根前立柱,然后连接两根后立柱。 接着,在立柱外侧将前角与后角连接起来,看起来就像一条对角线。
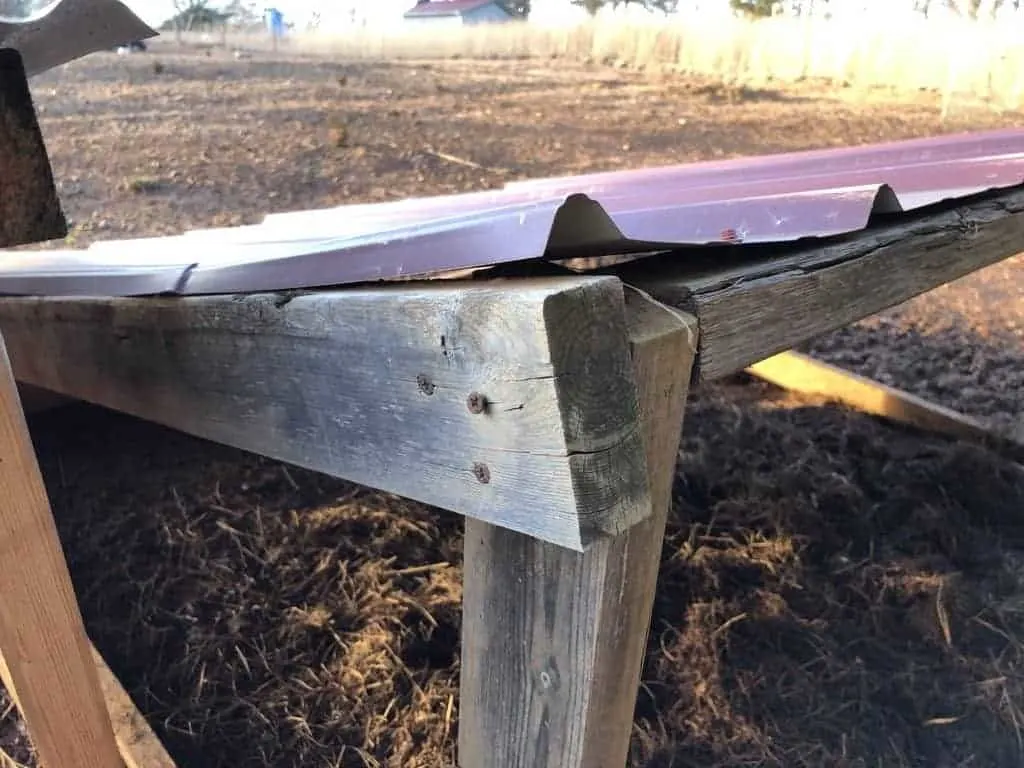
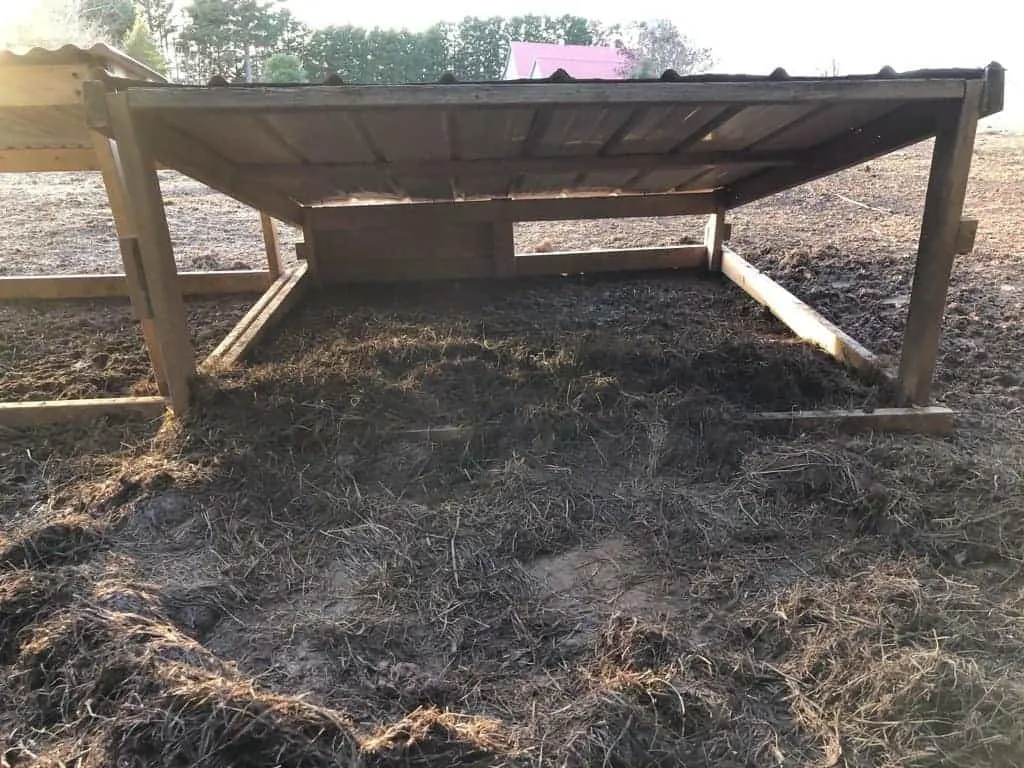
最后一块木板横跨顶部的中间部分,以支撑铁皮屋顶。 这样屋顶就不会倒塌。
第 3 步 - 添加屋顶
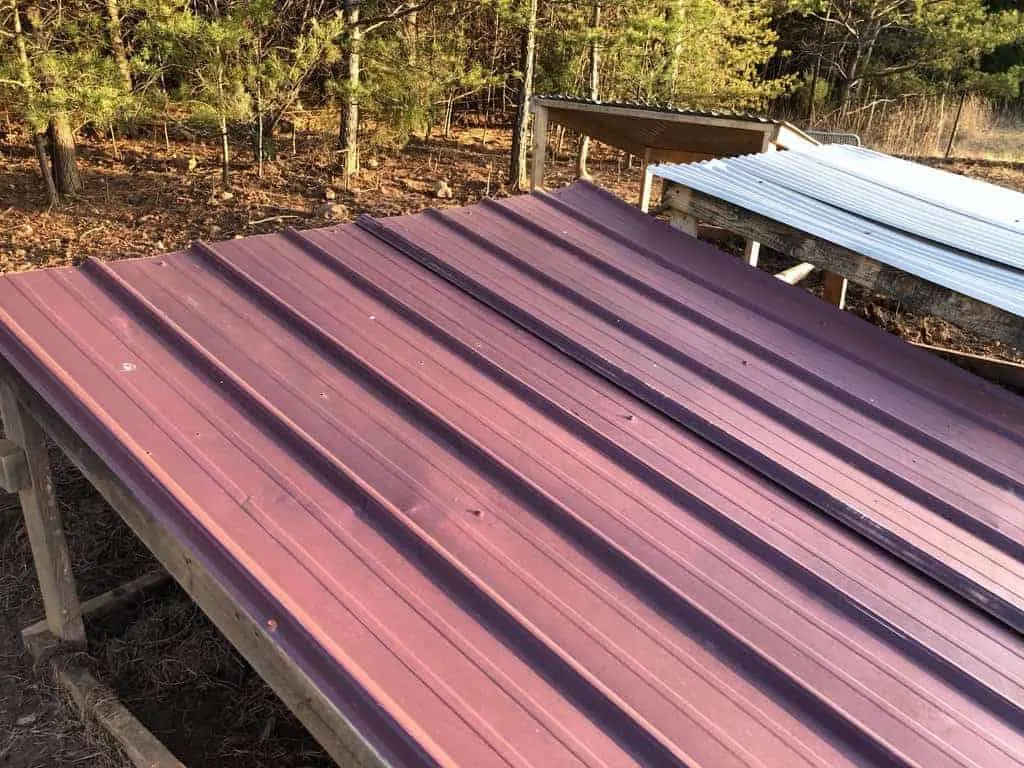
现在木板已经连接好了,剩下的就是屋顶了。
See_also: 奥尼 Fyra 与奥尼 3 评测--新奥尼 Fyra 与奥尼 3 相比如何?将罐子剪成合适的形状,每边略微悬空 3 英寸左右。
接下来,将铁皮铺在木结构上,然后在每个角落拧上螺丝,再在每块木板中间的两三个点拧上螺丝。
步骤 4(可选)--挡风墙
将胶合板切割成适合小屋两侧的梯形。 您不必这样做,但这样做可以为猪挡风。 如果您不这样做,那么一定要为它们提供足够的稻草作为垫料。
步骤 5(可选)--木材密封胶
如果您购买的不是经过压力处理的木材,那么您可以使用室外木材密封剂对木材进行密封。
我们家的木材没有经过处理,但仍能使用两年半,所以这取决于你。
猪舍易于建造

正如您所看到的,自己动手搭建猪舍非常简单!只要您知道如何使用一些常用的手工工具,并能进行相对精确的测量,就不会有问题。
用这种方法建造小屋可以省钱,而且只需花几个小时就能收集好材料。 说到自给自足,简单和便宜是我最喜欢的两样东西。
您是否喜欢本教程,并觉得它通俗易懂? 请在评论中告诉我们!
如果您喜欢这篇文章或认为它对您有帮助,请在社交媒体上分享。